
Regardless of whether you are a professional or novice baker you should always have a few baking staples tucked away in your repertoire. Yes of course play around with different recipes and have fun experimenting but there are times when you need a fool proof staple to fall back on.
My staples are those which I could probably make with my eyes closed and without really having to consult a recipe but which I know will turn out great because I’ve churned them out time & time again. While they may not be very elaborate or push me in terms of developing my baking skills, they are dependable. What is more, they give off the appearance of having made an effort when really there is nothing much to it.
You do however need to practice, practice, practice your staples in order to get to that sleep walking baking point. If you are a novice or amateur baker then I always recommend getting really good at a few key items (your baking staples) before moving onto the fancier stuff. Low key, well made baking is often better in appearance and taste than its fancy counterparts (unless of course you are a professional).
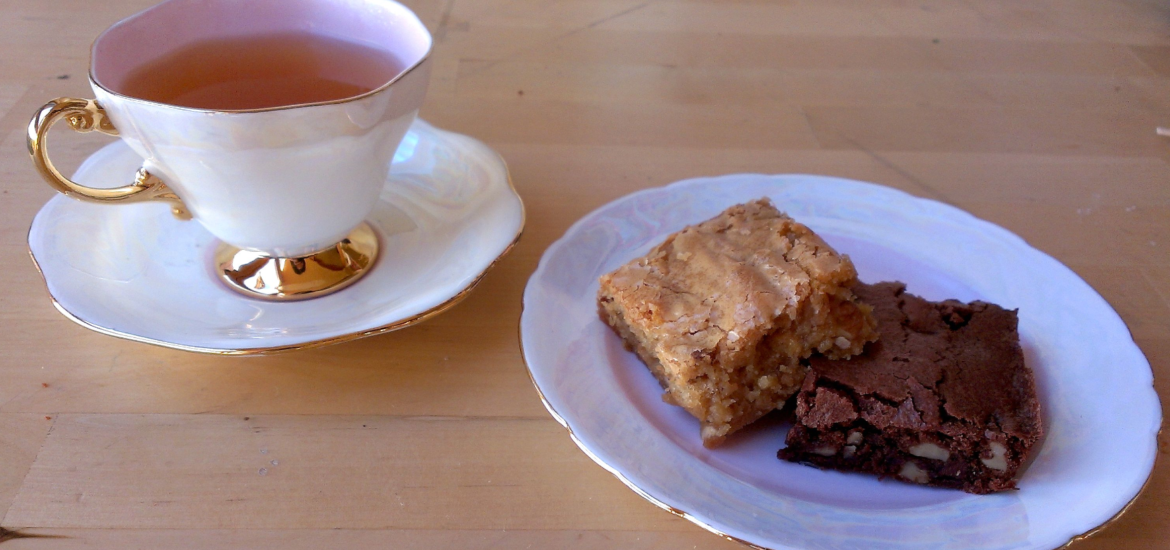
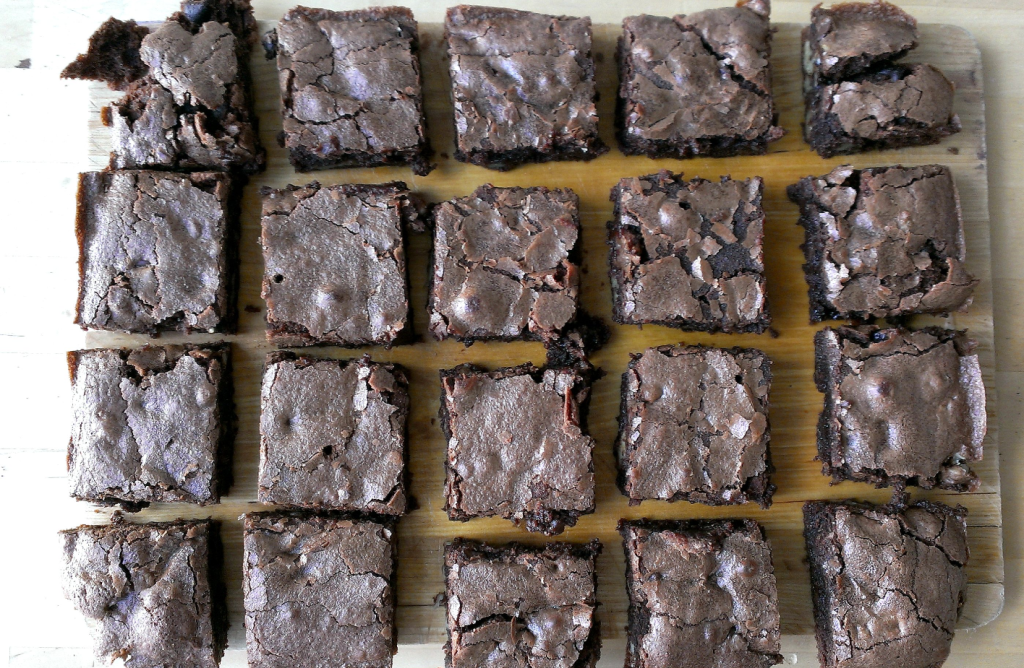
Double Chocolate Brownies
Brownies are just 1 of my tried and tested staples and the recipe is an ever so slightly adapted version from The Hummingbird Bakery cookbook.
The trick with a Brownie, and why I had to practice it over & over again, is all in the texture which is a direct result of the baking tin & length of time you cook them for. Overcook and they are too crunchy. Undercook and they are too runny & won’t hold their shape. The practice element comes because all ovens vary in their temperature. Therefore you need to find the correct cooking time & temperature in your oven for the perfect brownie. Once you achieve this, make a note of it & keep it somewhere safe.
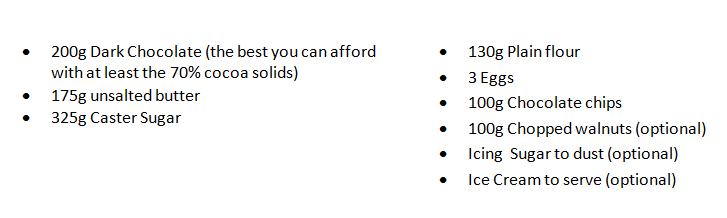
Ingredients
Heat the oven to 170C. You will need a baking tin which is 33cm x 23cm and approx 5cm deep. Anything smaller or larger may affect the consistency of the Brownies.
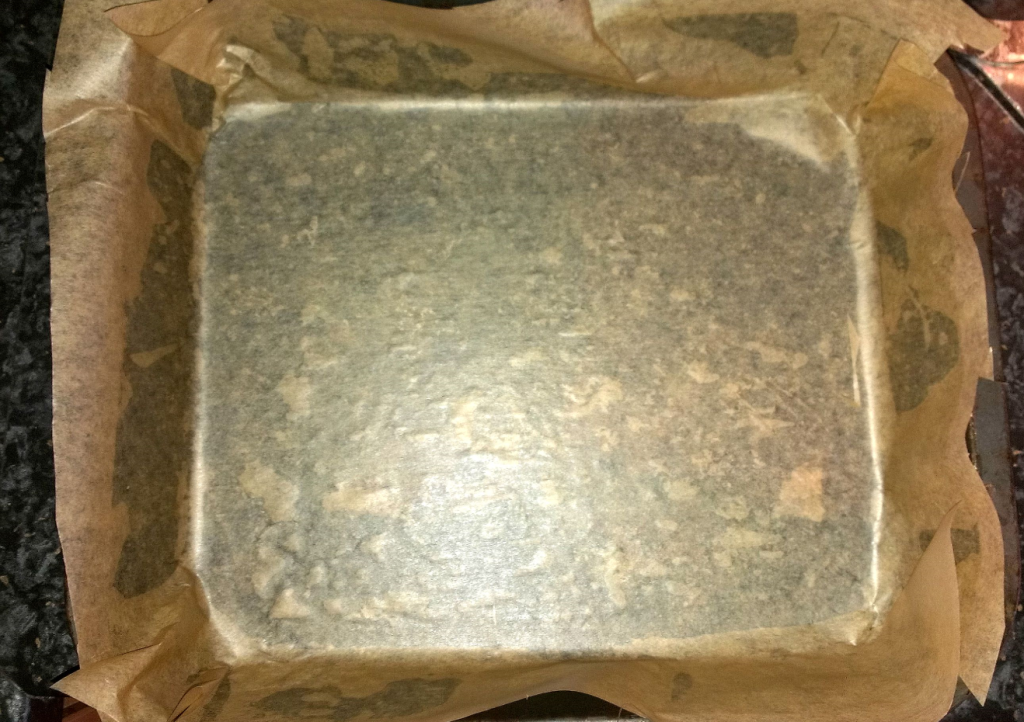
Grease the tin with oil or butter. Cut out a large sheet of greaseproof paper slightly larger than the tin & snip the corners.
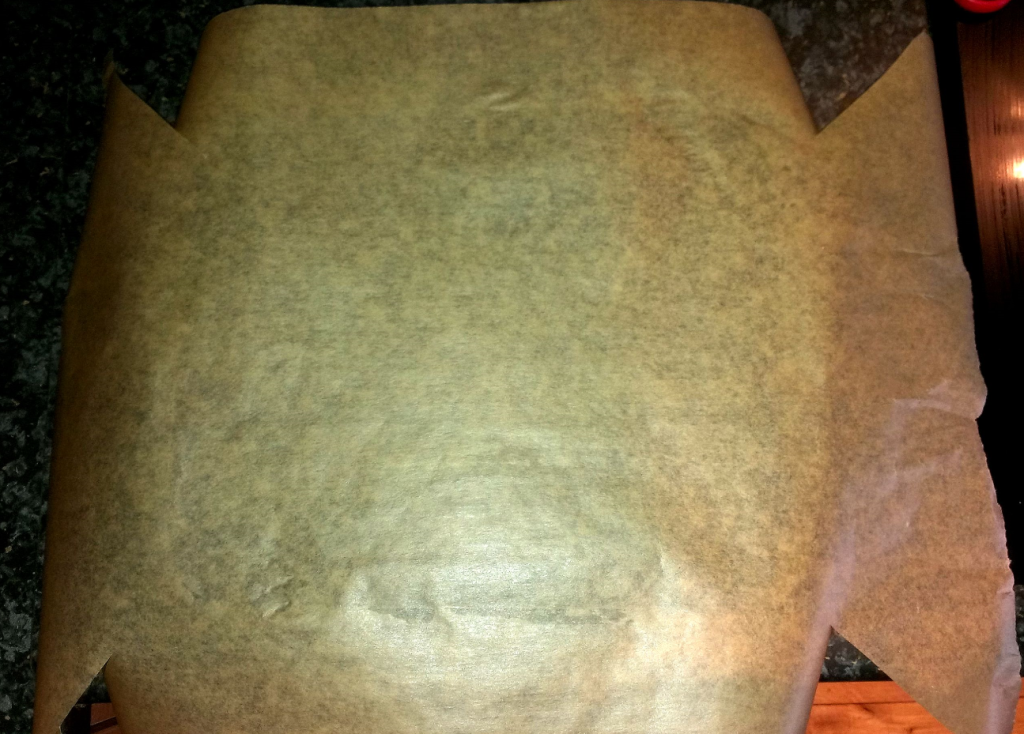
Press the paper down into the tin, smoothing down any creases but leave some overhang. This makes it easier to remove the Brownies from the pan later.
Make a bain marie for melting the chocolate by: filling a small pot, roughly halfway up, with hot water from the kettle. Place a larger bowl on top but make sure the base of the bowl does not touch the hot water in the pot. Pour out some water if you need to.
Turn the heat on low so the water is just gently simmering.
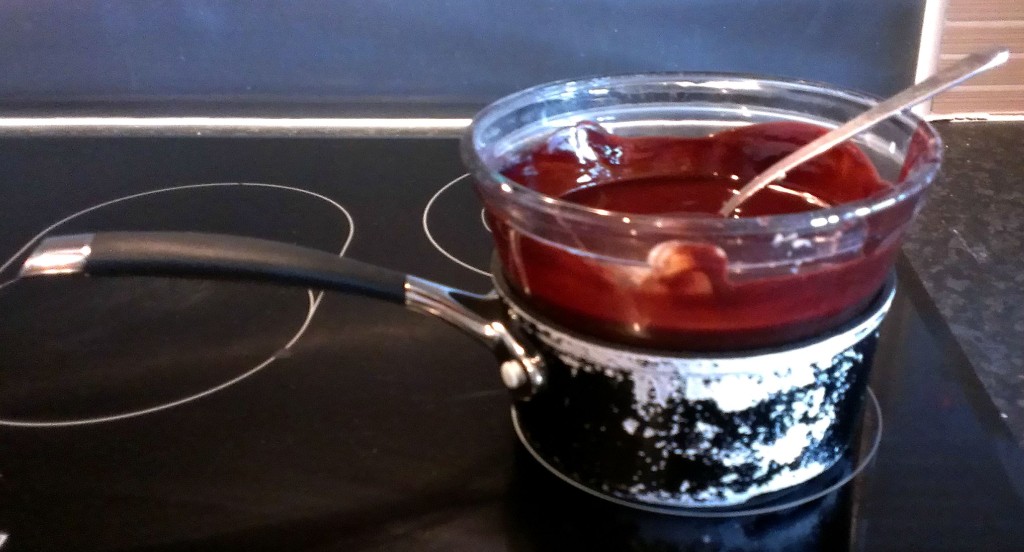
Break the chocolate into small pieces and add to the bowl with the butter. Keep it over the heat until the chocolate & butter have melted. Stir to combine & remove from the heat.
![]() You can of course melt the chocolate in the microwave but I find the bain marie method gives me more control & I can walk away and leave it until melted. Whereas the microwave means I have to stand closeby to make sure the chocolate doesn’t seize or burn.
You can of course melt the chocolate in the microwave but I find the bain marie method gives me more control & I can walk away and leave it until melted. Whereas the microwave means I have to stand closeby to make sure the chocolate doesn’t seize or burn.
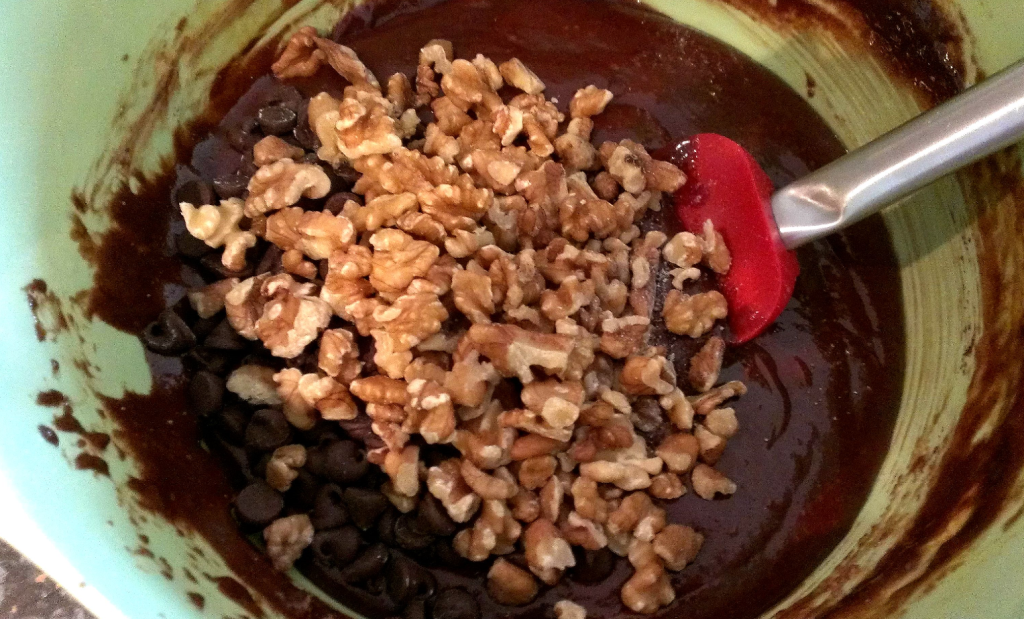
In a large bowl, mix the sugar with the melted chocolate. Crack in the eggs, sift in the flour, then tip in the chocolate chips & nuts (if using) and mix until incorporated.
Spoon the mixture into the lined tin & smooth the surface with a palette knife or the back of a spoon. Bake for 30-35 mins but check them after 25 mins just in case (because like I said, ovens do vary).
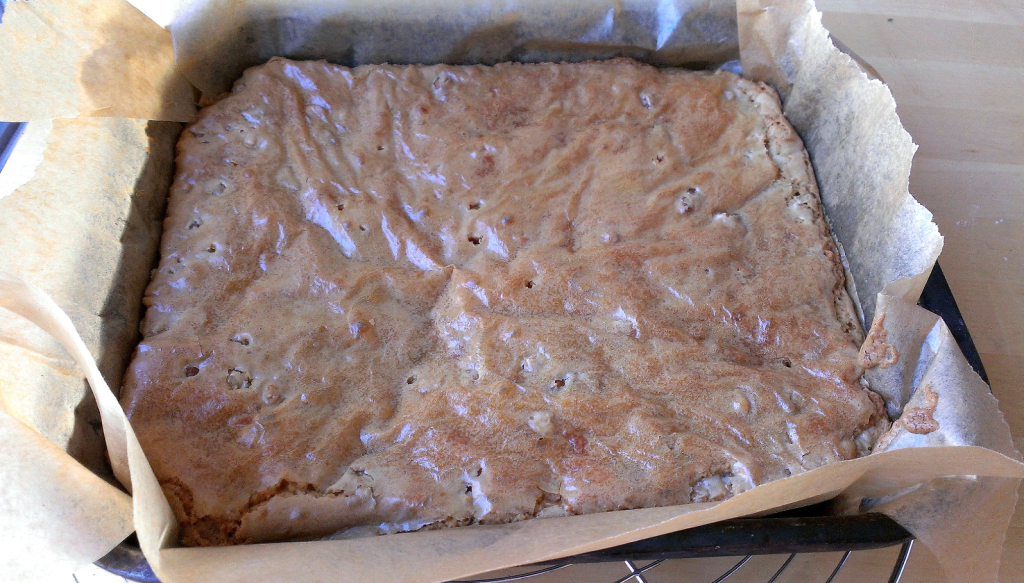
The brownies will be cooked when a crust has formed on top. This is the 1 time that when you insert a skewer into a baked cake it SHOULD come out with cake batter on it. So don’t be tempted to over cook if this is the case.
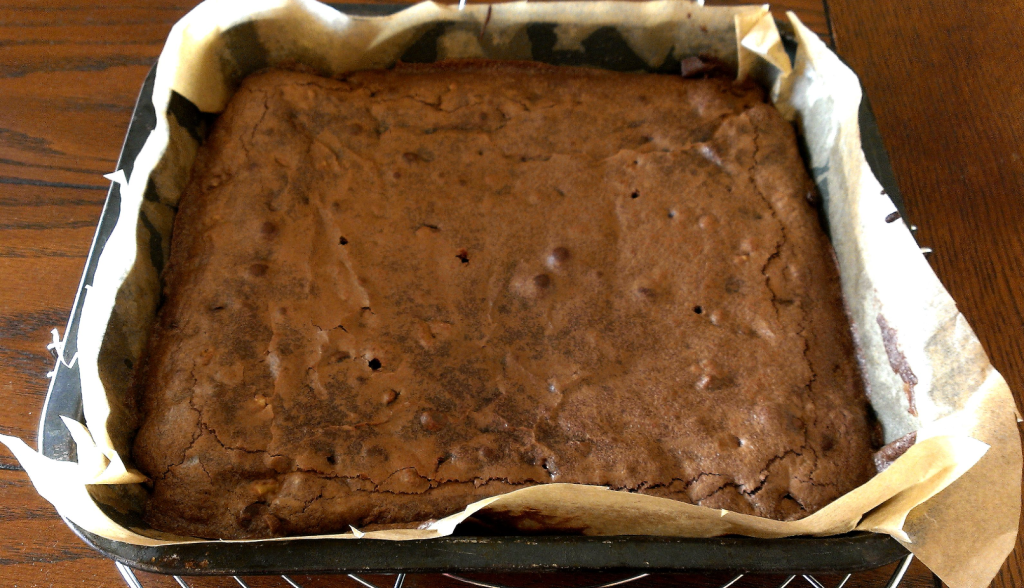
Leave the Brownies to cool in the tin on a cooling rack for 10 mins. After which, lift the Brownies out of the tin using the greaseproof paper & leave to cool for another 15-20 mins. They won’t be completely cool at this point so you can still serve warm but you do need to leave them to cool to get that dense chewyness Brownies are so famed for. These actually taste better the next day.
You can of course serve these as they are or with a light dusting of icing sugar. Better yet make a double batch, stack em in a pile, push some birthday candles into them & you have a cracking alternative to a birthday cake.
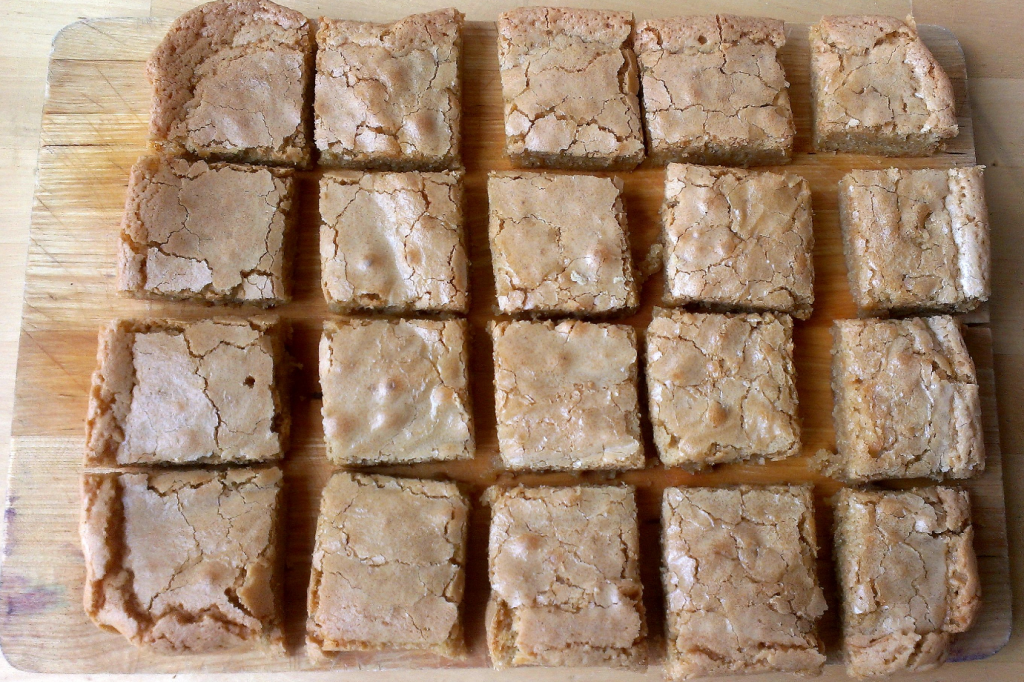
White Chocolate Blondies
Blondies are essentially the white chocolate (or sometimes chocolate free) version of a Brownie. They have all the gooey denseness of a brownie but with more toffee/vanilla flavour. I disregarded the Blondie for a long time because I saw nothing wrong with the Brownie itself. Why fix something that isn’t broke right? Well this is all well & good until its a Sunday afternoon, you cant be bothered leaving the house, you have a Brownie craving & you have no chocolate. Enter the Blondie in my life.
I like serving both Brownies & Blondies now because although they have the same texture and same cooking method (which means they are a doddle to throw together) they are so very different in taste.
Ingredients
Heat the oven to 170C. Using the same size tin as above, grease & line in the same way.
Melt the butter in a saucepan over a low heat. Meanwhile mix the sugars in a large bowl. Pour the melted butter over the top & mix to combine. The muscovado sugar is what gives the Blondies their toffee flavour & blond colour.
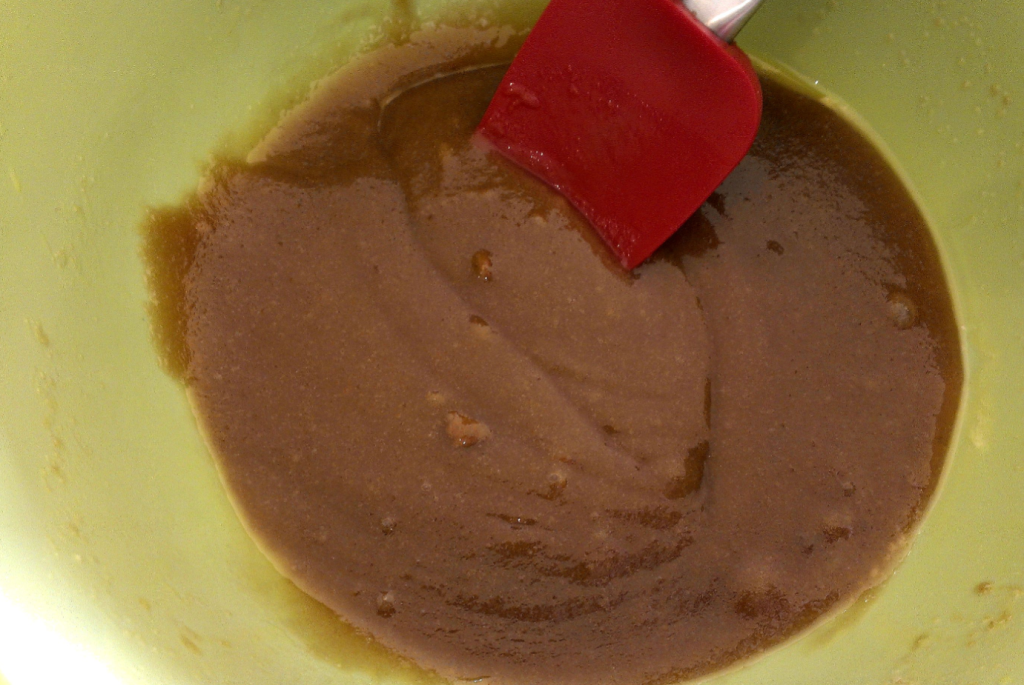
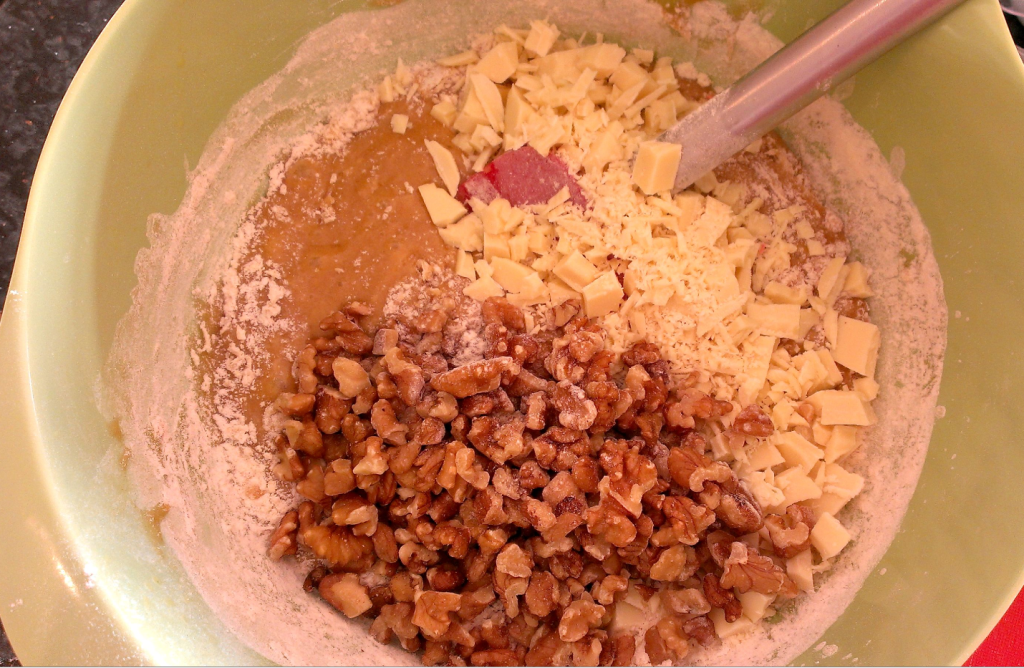
Sift the flour & baking powder into the butter mixture but before you mix together, add the eggs, vanilla, salt, lemon juice, white chocolate & walnuts. Mix together until its all fully incorporated.
Scrape into the lined tin & smooth the surface bake for 35-45 mins, but again, check them after 35 mins.
The top should have a delicate crust and if you insert a skewer, a little batter may still be there. Leave to cool in the tin for 10mins before lifting the Blondies out with the greaseproof paper. Leave to cool for another 15-20 mins before cutting into squares.
When cooled, serve as they are or dust with icing sugar. Or serve warm with toffee sauce & ice cream for an easy dependable pudding.
Toffee Sauce
This is Mary Berry’s sauce for a Sticky Toffee Pudding from Family Sunday Lunches. A sauce which has changed my life.
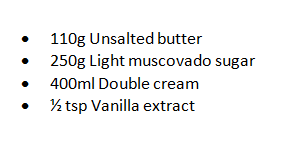
Add all ingredients into a pot & melt over a medium heat. Once melted, let it bubble for a few minutes before pouring into a jug. This will keep covered in the fridge for a couple days – that is if you don’t resort to eating it with a spoon.
Both Brownies & Blondies will keep for a few days in an airtight box.