

Friday nights are dangerous in my house. Culinary speaking of course. It’s not like I invite axe murderers & serial killers over to hang out. It’s because after a long week at work & the tiring walk home in shoes that were never designed for walking in (a universal female problem) I have zero enthusiasm or energy to do anything other than open a bottle of beer & lie on the sofa. So I completely understand why Friday night = Takeaway night.
Now as you may already know I am not a fan of takeaways any more. Maybe I’m not fortunate to have a good one nearby or maybe its because I don’t like the idea of not knowing what’s in my food. Either way I get around this by replicating typical take-out style food myself. Hence where this series of posts came in.
Of course some takeaways are a doddle to recreate, for example you can make a Chinese stir fry in 10 mins. But others, such as Indian food are much more laborious because curries often need slow cooking and any snack food (pakora, samosa) can take just as long. Which is a shame, because a pile of & a few beers is in my mind what Friday nights are all about.
Therefore seeing as this is National Curry Week it only seems right I join in on the spicy fun and add another recipe to this series. But rather than a curry (I’ve done 3 already) I offer up Stovies .
Stovies
These are an adapted version of the Hairy Bikers Traditional from their Mum’s Known Best book and to me they are the perfect mix of Scottish & Indian cuisine. Think spicy mince & potatoes (which is what stovies essentially are) inside a crunchy pastry small enough to be eaten in 2 bites.
I haven’t deviated much from their recipe, just changed the quantities & a couple of the ingredients. But I like their recommendation of using Tortilla wraps if you cant get a hold of Samosa or Spring Roll wrappers. I have tried all 3 versions and I don’t think it makes a massive difference in taste. Just texture. Samosa & Spring roll wrappers are crunchier. Now you could use Filo Pastry but I hate the stuff so would never recommend it. But please, as usual, adapt this as you prefer.
Ingredients
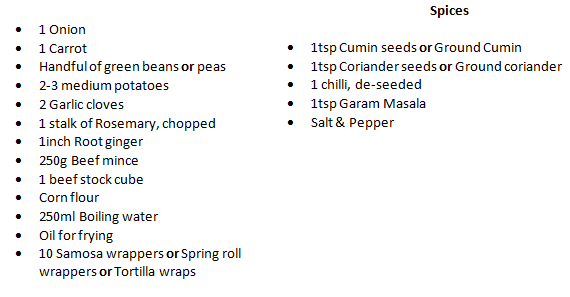
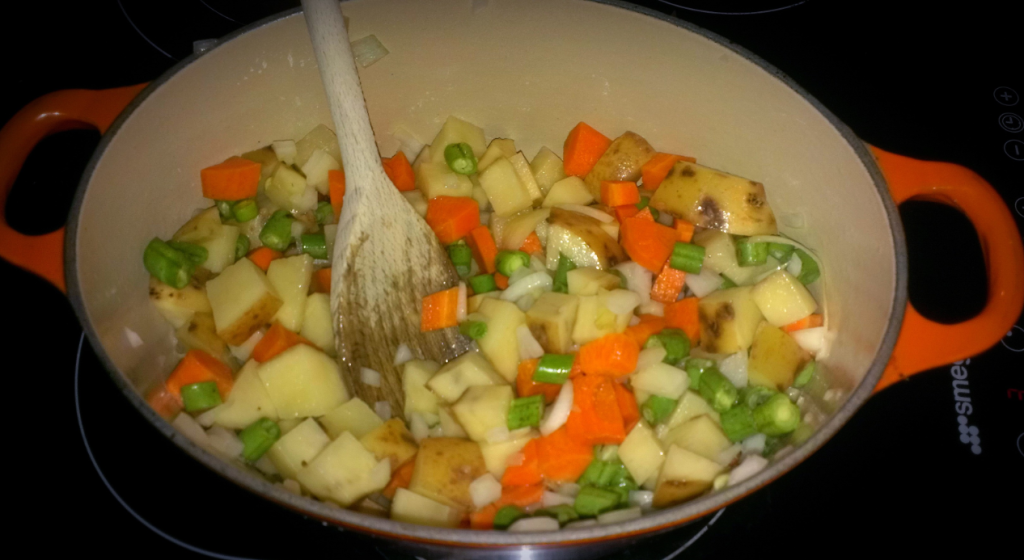
Cut the onion, carrot, potatoes and green beans into small chunks approx 1cm thick. Add to a pot with a little oil & cook over a medium heat with the lid on for 10 mins to soften.
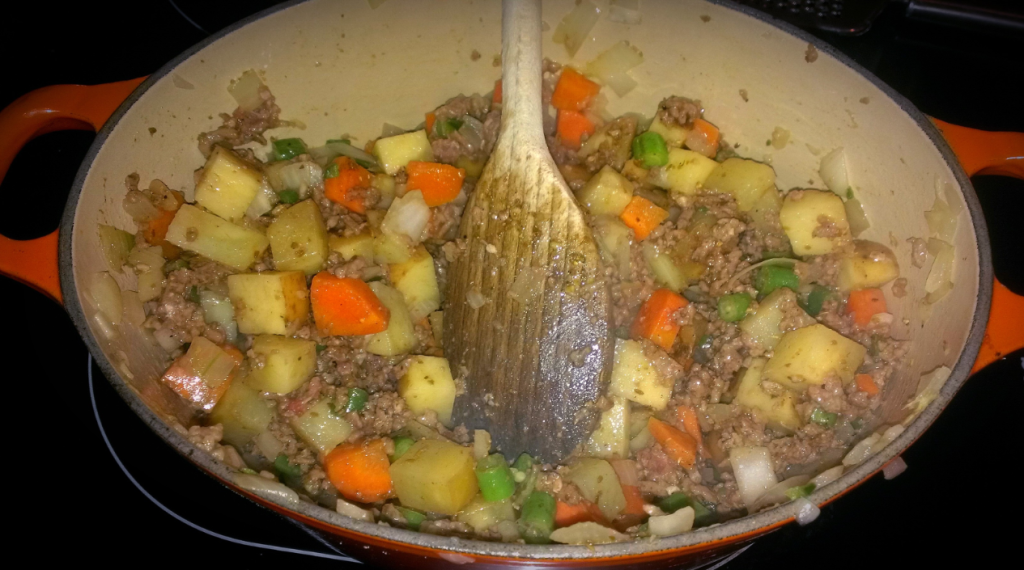
Afterwards, add the mince & chopped rosemary. Increase the heat to medium-high and cook until the meat is browned.
Meanwhile, mix together the spices (if you are using whole spices then grind them up in a pestle & mortar) with the finely chopped chilli.
Once the mince is browned add the spices to the pan along with the ginger & garlic using your preferred method (grating, crushing or finely chopped). Add a small splash of water to stop the spices burning and cook on a medium heat for a couple minutes. Season with salt & pepper and crumble in a beef stock cube.
Pour over 250ml of boiling water and bring to a boiling point. Reduce to a low-medium heat (a rapid simmer) and cook partially covered for 40 mins. Make sure you stir this regularly to stop it sticking or burning.
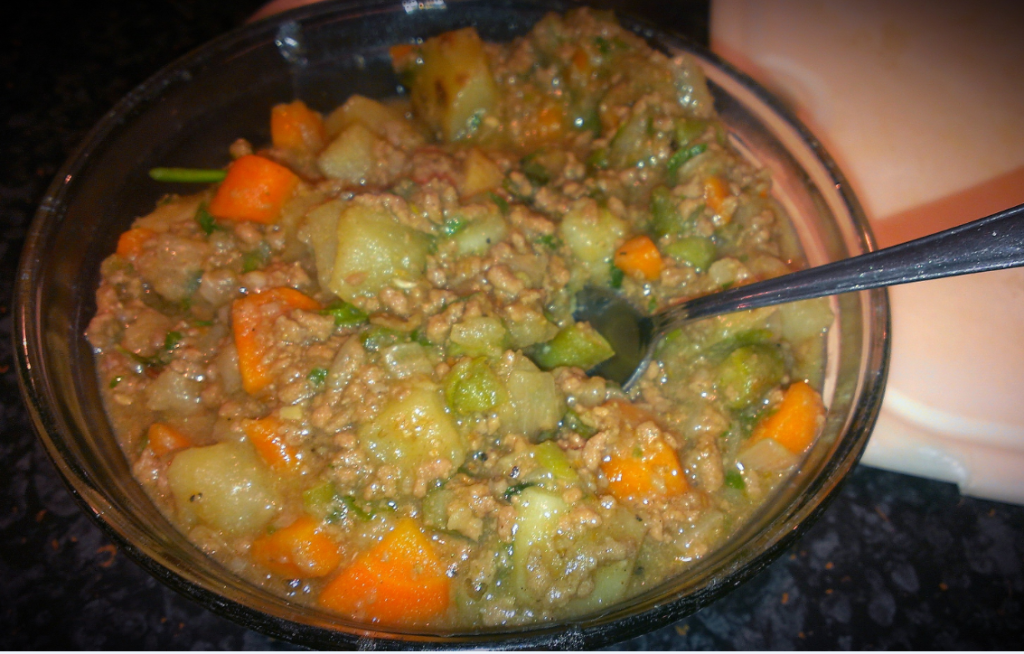
After which the water should have reduced & the mixture should be thickened. Leave to cool, or (as I prefer to do) decant into a bowl, cover with cling film & leave in the fridge overnight to use the next day. Be warned though, this mixture as unappetising as it looks is delicious! I’m often found surreptitiously eating cold spoonfuls of it from the fridge.
If you don’t have a deep fat fryer then heat 1 inch of oil in a heavy based frying pan, pot or wok. Then mix together 1tsp of cornflour with 3tbsp water in a small cup to form a milky water. Set aside until ready to use. This will be used to seal the .
If you are using Samosa wrappers then you don’t need to do anything since they are cut to size. But I would recommend using 2 wrappers for every Samosa since they are very thin. If you are using Spring roll wrappers or Tortilla wraps you need to cut them into strips approx 3 inches wide. If using the tortilla wraps then discard the strips with the rounded edges.
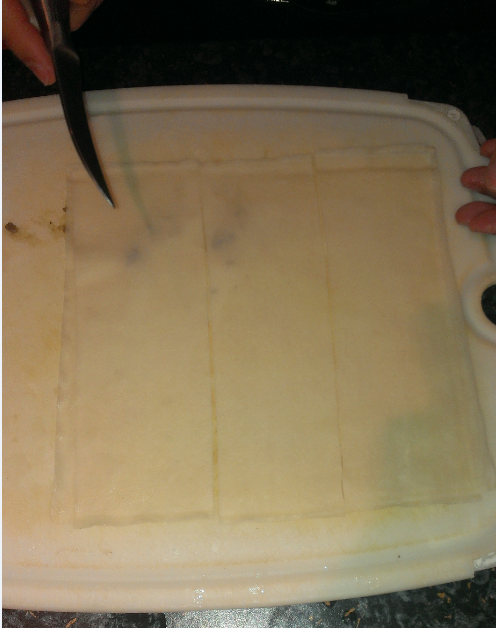
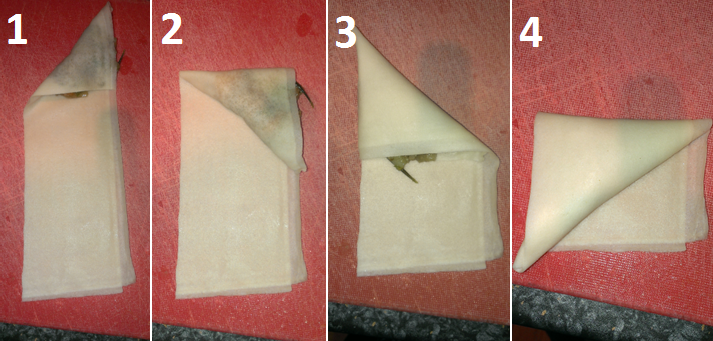
It’s easier to wrap these by watching someone rather than describing but hopefully the pictures below should help.
(1) Lay 1 strip in front of you and spoon 1-2tsps of the filling at the top edge. Fold the top left corner down to meet the right edge to form a triangle.
(2) Fold this triangle pocket down towards you.
(3) Fold the triangle again towards the left side of the pastry.
(4) Fold once more towards yourself to seal the open edge. Or keep going until you reach the end of the pastry strip & the filling is sealed inside a triangle of pastry.
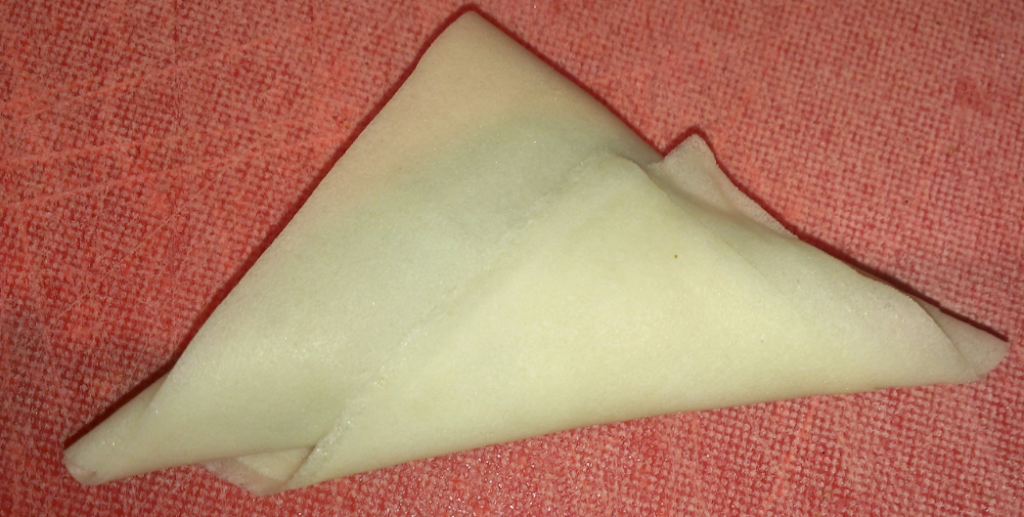
Using your fingertips, brush a little of the milky water around the overhang of pastry and fold it over the Samosa. Press down to seal. Set aside on a chopping board until you prepare the rest.
These seem incredibly fiddly and I wont lie, it is. But once you get the hang of wrapping them you can whip them together in minutes. I think it took me 3 or 4 attempts at wrapping before I got the hang of it. They were still edible but perhaps not as neat as I would have preferred.
Test the temperature of the oil by using a preserving thermometer, it should read 350F – 375F (175C – 190C). Or do as I do and toss a small chunk of bread into the oil. If it turns crispy brown within 60 seconds the oil is ready.
Fry the in batches until golden (approx 1-2 mins each side) and drain on some kitchen roll. Serve piled onto a plate with some Sweet Thai Chilli Sauce for dipping.

I’m not suggesting that from start to finish these are faster or easier to prepare than picking up the telephone & calling them in. But then again I wouldn’t make these all in 1 day.
I make the filling the night before I intend to eat them, which to me is easy enough to do since its all cooked in the 1 pot with minimal input. Which means come Friday night all I need to do is fire the beers into the freezer to quickly chill & wrap these up. I think once I got the hang of wrapping it takes 10 mins to prepare & a further 10 to cook. I would much rather do a little extra prep on the Thursday night to save myself the hassle on the Friday night.