
It feels that growing our own food is a skill we’ve lost, most likely it’s because of the availability of cheap food, but I do think it is slowly making its way back into our lives.
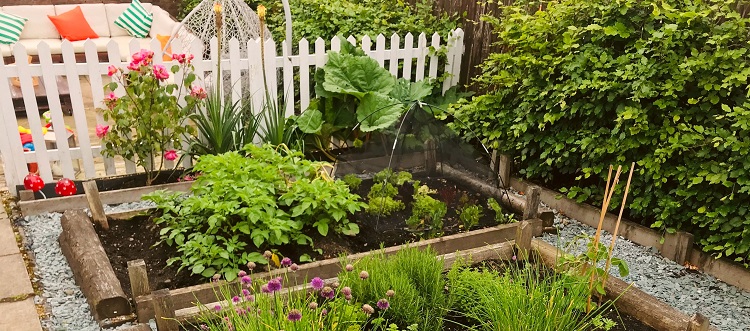
I know for many its intimidating to know where to start with growing food, particularly if you’ve no gardening experience already, but please don’t let that deter you. Most vegetables are actually very low maintenance and will grow pretty much anywhere. You don’t need a dedicated raised bed or gardening tools, you just adapt what you have to get started.
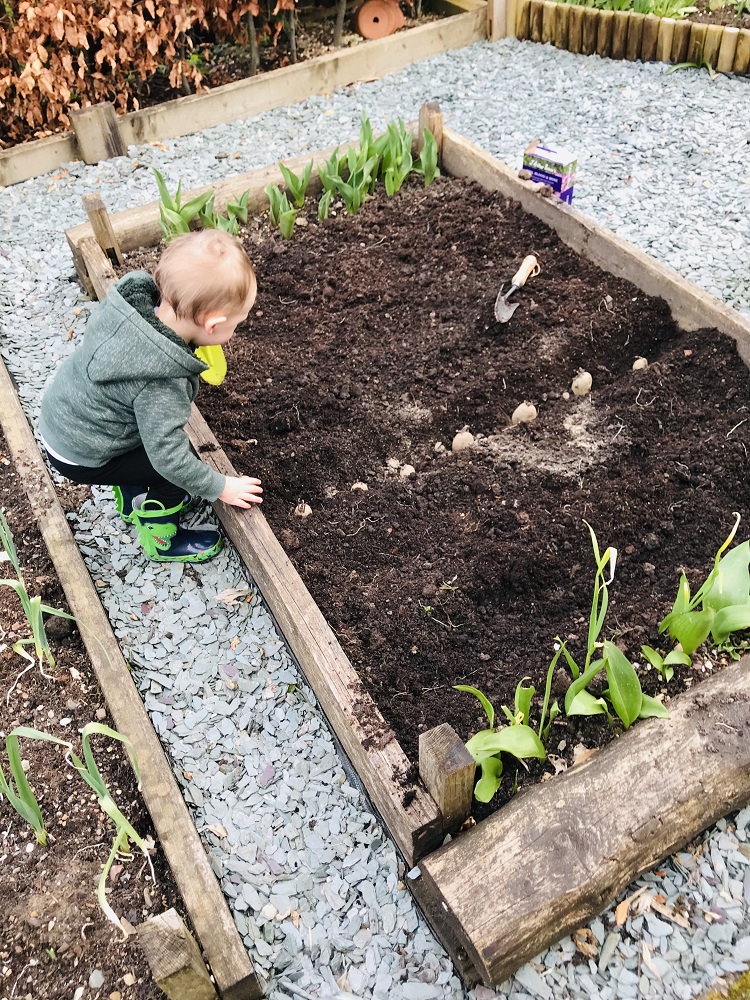
So now that the schools are shut and most parents are looking for ways to incorporate home-schooling into their home life, I reckon gardening is a brilliant way to do it. It’s widely reported that gardening teaches children responsibility, encourages creativity, enables then to learn about nutrition, and builds their self-confidence: all in a hands on manner with tangible outcomes. Gardening is also brilliant for maintaining positive mental health: we’re out in the fresh air, focusing on a task, and planning for the future. Given the uncertainties surrounding Covid19 right now, I think there’s no better time to get outside and grow our own food.
There are lots of different varieties of potato you can grow, all of which fall into 3 groups which are:
- First earlies: are new potatoes, perfect for boiling and eating in salads. They’re planted from March-April and are harvested between May-July.
- Second earlies: Also new potatoes but slightly larger. They’re planted in April and harvested between June-September.
- Main crop: are large potatoes used for mash/roasting/chips etc. They’re planted in April and are ready to harvest between September-November.
I tend to grow main crop potatoes, usually King Edwards, purely because I don’t eat a lot of potatoes in summer months so it makes sense for me to have a stash instead in Autumn/Winter. I find if they’re stored correctly, maincrop potatoes can make an appearance at Christmas dinner.
To grow potatoes you need seed potatoes. These look like potatoes but aren’t suitable for eating. You can buy seed potatoes online or at most gardening centres (check out Wilko, I’ve always had success with theirs) for less than a fiver. All packets will be clearly labelled as to what group they belong to, and most will have instructions on when to plant and harvest etc.
You will need
- A patch of soil, approximately 1metre x 1metre OR a raised bed OR a large container (i.e. a bucket, growing bag)
- Peat-free compost (if using a container)
- Potato seeds
- A rake (ideal but not neccesary)
- Trowel (or large spoon/kids spade)
- Small garden fork or a wooden spoon
- Organic fertiliser
- Garden hose or watering can
A note on pesticides: I’m a big advocate of organic and natural gardening, particularly when it comes to growing food I intend to eat, which means no chemicals or pesticides. Now I’ve never had a probelm with pests so never felt the need to use chemicals or pesticide. Maybe I’m lucky, maybe potatoes don’t suffer badly, who knows. But if you do need to use something, do consider organic or natural pesticides.
Prepping the potatoes
If you’re growing first or second early potatoes then its a good idea to ‘chit’ the potato seeds before planting. As these types of potato have a shorter growing season chitting simply speeds up the growing process and gives you a better harvest. To chit potatoes, leave them in a cool light place (i.e. a north facing windowsill) for at least a couple weeks until tubers grow. Don’t be alarmed if the potato seeds go soft and wrinkly, this is normal. You don’t need to chit maincrop potatoes because they have a longer growing period, but I do it anyway.
Prepping the ground
The first rule of growing potaotes is do not grow them on a site where potatoes have grown the previous year. If you do, you run the risk of potato blight which destroys crops. I use crop rotation in my garden which means I only grow potatoes in the same patch every third year. Depending on the size of your garden, this of course is easier said than done. So remember you can grow potatoes in containers or dedicated potato bags if you need to.
If planting into the ground, choose a sunny sight and give yourself at least a 1metre x 1metre space to work with. Weed the area thoroughly and rake the soil to remove any large lumps or stones. Then feed the soil with fertiliser to ensure optimal growth and healthy potatoes. I fork a generous helping of Fish, Blood and Bonemeal, which is inexpensive and available even from the larger supermarkets, into the soil. If you can, a generous top layer of organic manure or peat-free compost (again, shop bought is fine) will also go down well but don’t worry about digging it in, the worms will do that for you. If growing in containers, fill each one halfway with peat-free compost and place in a sunny site.
Planting potato seeds
Dig a few trenches (approximatly) 13cm deep and 30cm apart. Place the seed potatoes into the trenches, with the tubers facing upwards, at spaced intervals. Cover with soil and give it a good watering.
Earthing up
The second rule of growing potatoes is that once shoots appear you need to start the regular process of earthing up. This means you add more soil around the base of each plant to stop the potatoes being exposed to sunlight. Potatoes which are exposed to sunlight will turn green and are poisenous.
You earth up by piling up the soil onto the plants regularly. If you’re running low on soil, then add grass clippings or fresh compost. You cannot be too generous with your earthing up, and its better to have soil come right up to the tips of the plant than not enough.
Watering and weeding
Potatoes are thirsty plants so remember to water them regularly: enough to keep the soil damp, but not soaked. Also weed regularly to ensure your potatoes get all the water and nutrients they need and aren’t competing with weeds.
Harvesting
When the leaves of the potato plants turn yellow and start to die back this is a good indicator they are ready to harvest. Although the instructions on the bag will take you which month to harvest in. Once the leaves die back, stop watering, cut all growth back to ground level, and do one final earthing up to ensure no light gets in. Then wait 2 weeks before harvesting. This process gives the potatoes time to toughen their skin.
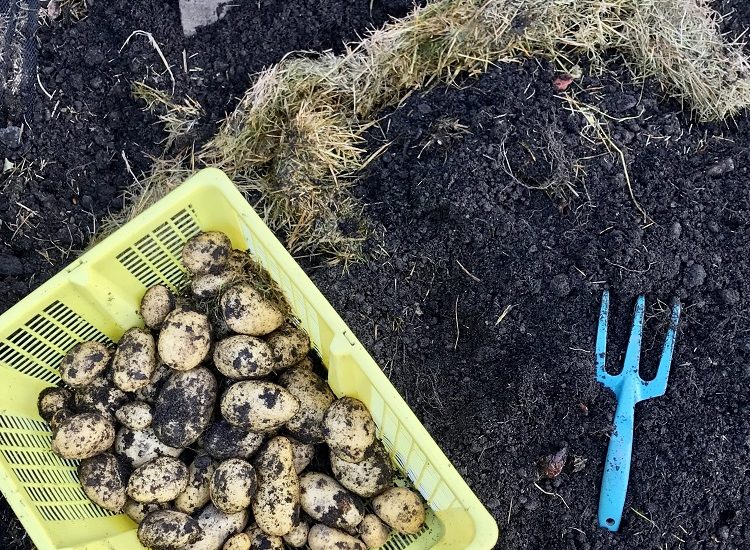
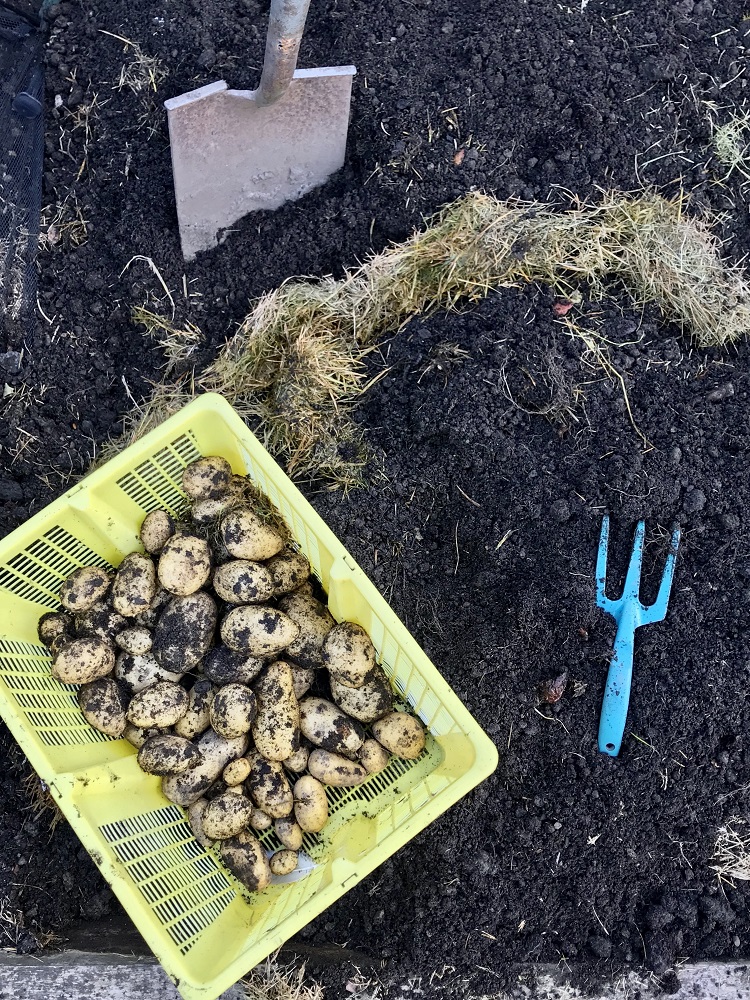
You harvest potatoes by gently digging into the soil with a small garden fork/trowel but be careful not to puncture or bruise the potatoes. I prefer to use my hands or a wooden spoon from the kitchen for this job. Have a big basket or bag to hand to collect your harvest, you’ll be amazed at how many potatoes you’ll get.
First and second earlies should be eaten within a few days of harvesting, so it makes sense to harvest a small amount each time you need them through summer rather than collect the full harvest in one go. Maincrop potatoes however can be cured for storing which means you should harvest them all at once.
Curing (maincrop potatoes)
Once you’ve harvested maincrop potatoes, and if you want to store them, you need to go through the process of curing. Curing toughens the skins on potatoes which means they can be stored for longer.
You do this by laying the potatoes out in a cool dry place (a cellar, garage, unheated porch, shed) out of direct sunlight for up to 1 week. Don’t be tempted to wash the potatoes becuase this can cause them to spoil faster. Do check them regularly and immediately dipose of any which are rotting. Once the potatoes have cured you can now brush the dirt off with a cloth or soft brush. Only wash potatoes when you’re ready to eat them.
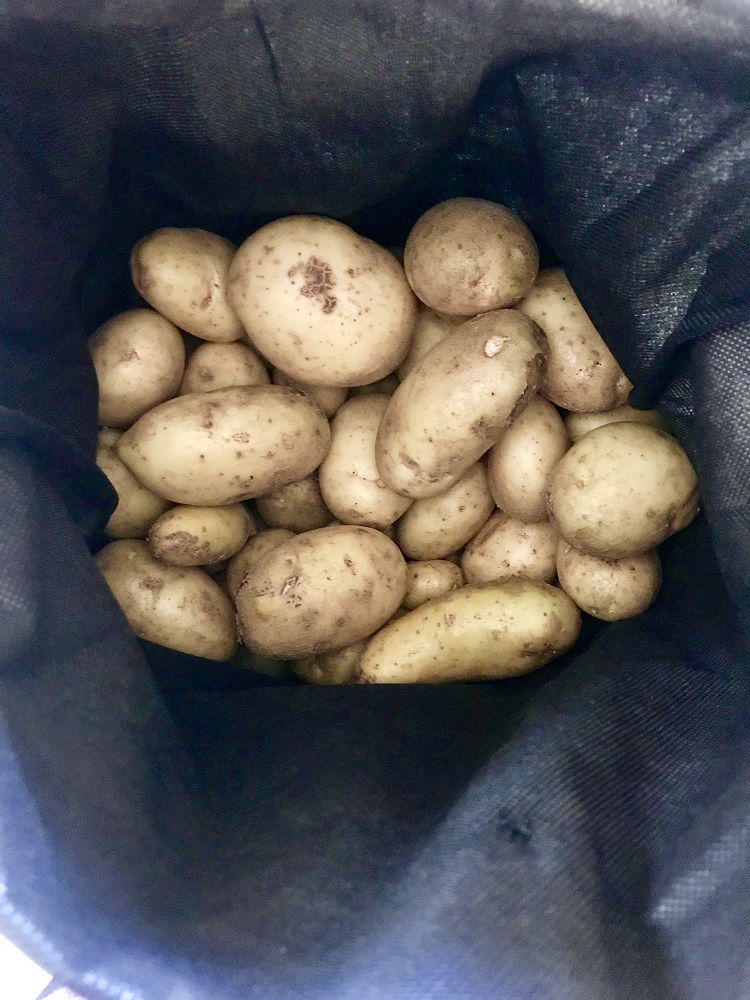
Storing
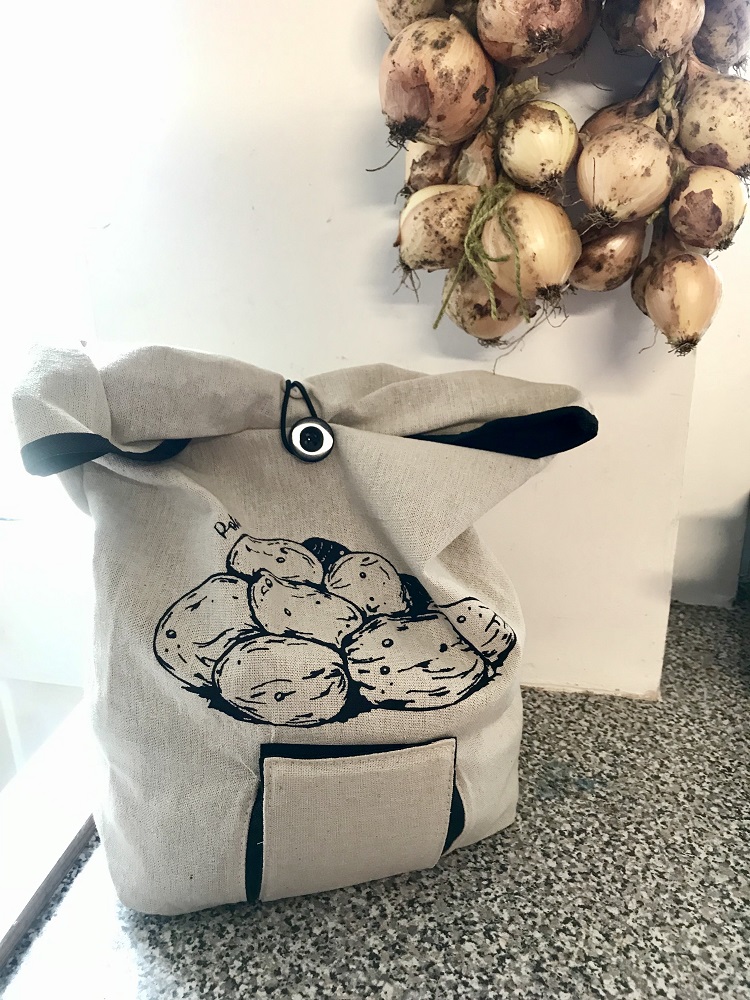
Once the (maincrop) potatoes have been cured they need to be stored somewhere cool, dry, and dark. For this purpose I have a potato bag which you can get online but any burlap or paper bag is fine. You might even want to make your own. I store my potato bag in the cellar, along with my homegrown onions, and they’ve lasted almost 2 months with no problems. Check them regularly and remove any which are rotting.
This post is one of several in my Garden How to…series which includes how to grow sunflowers, herbs, and gardening on a budget.